

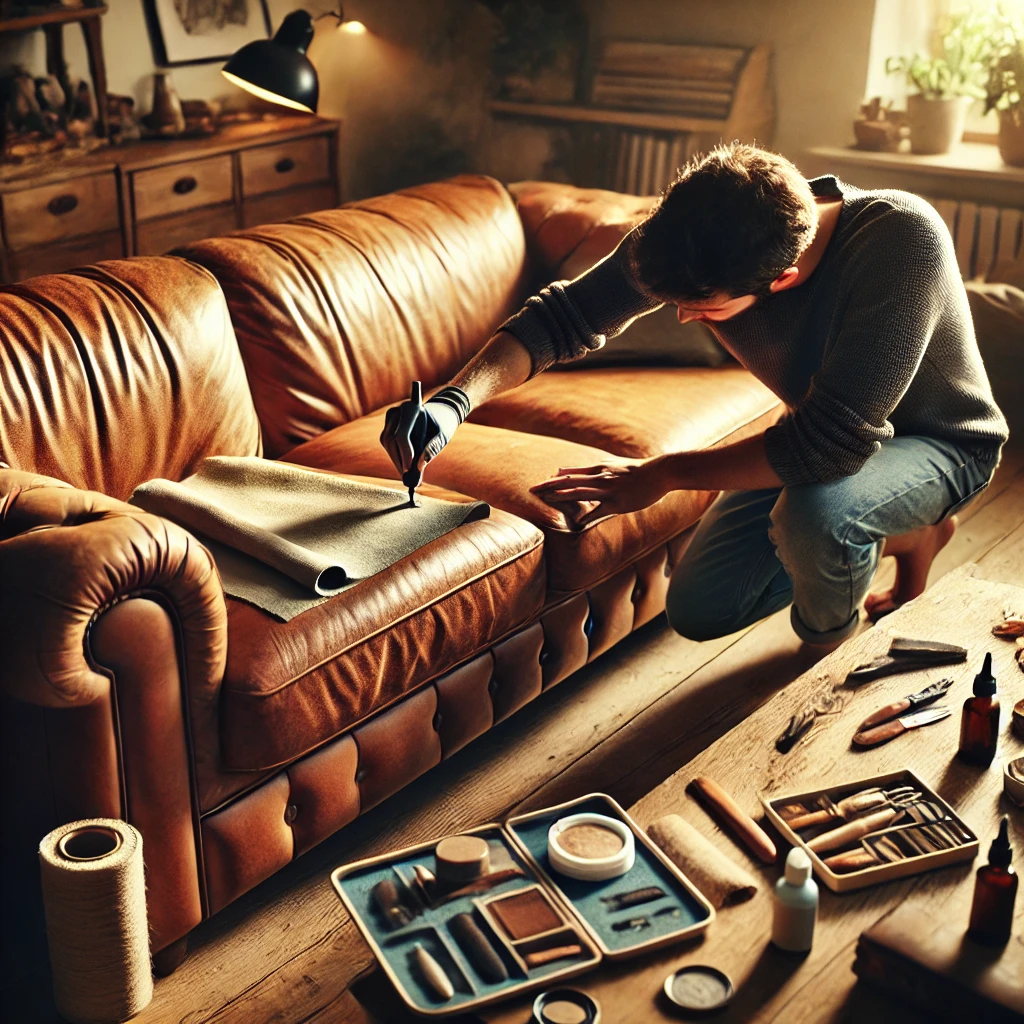
If your leather sofa looks like it survived a cat attack, a decade of Netflix marathons and one too many sunburns, here’s the blunt truth: you don’t need to drop $3,000 on a new one. You need a leather repair kit, half an hour and the right technique. I’ve been digging into how people actually fix this stuff at home, and the gap between “my sofa is ruined” and “wait, that looks new” is embarrassingly small.
Can You Really Repair a Leather Sofa Without a Pro?
Yes, and most people overestimate how hard it is. A leather sofa repair is basically surface chemistry: you clean, you fill, you color, you seal. The professionals aren’t doing magic, they’re doing the same steps with better products and more patience.
Where it gets tricky is when you’re dealing with deep structural damage, like a torn seam on a Natuzzi or a crack that goes through the hide. That’s when calling a specialist makes sense, not because you can’t do it, but because brand finishes are a pain to match and a bad repair on a $4,000 sofa is a $4,000 mistake.
Small cracks, scratches and cat claw marks: DIY territory
Cracks in leather sofas form because the natural oils dry out. Cat scratches are surface-level damage. Both are repairable at home with a leather repair kit and a bit of patience.
The process for repairing cracks in a leather sofa is straightforward: clean the area with isopropyl alcohol, apply a flexible filler (not superglue, please), let it cure, then color-match with a leather dye and seal it. The trick nobody tells you is that you need to work in thin layers. Thick layers crack again in three months.
Pro tip: if the crack is under 2mm, a tinted leather balm applied every week for a month will often close it without any filler at all. Cheap, slow, but surprisingly effective.
Tears, holes and full panels: when to call someone
A tear longer than an inch, or any damage on a high-flex area like the seat cushion edge, is where DIY starts to look DIY. You can patch it, but the patch will show. This is where a leather furniture repair specialist earns their money.
Same goes for repairing a torn leather sofa where the tear is at a seam. Stitching has to be redone from inside, and that’s not a job you want to learn on your only couch.
How to Repair a Leather Sofa Step by Step
Here’s the actual sequence that works, based on what people who restore leather for a living actually do.
- Clean the area. Isopropyl alcohol or a dedicated leather cleaner. No soap. No wipes with aloe vera.
- Assess the damage. Scratch, crack, tear or color loss? Each one has a different fix.
- Fill if needed. Flexible leather filler for cracks and tears. Apply thin, let dry, repeat.
- Sand gently. 600-grit or higher, only on the filler, never on the leather around it.
- Color match. Leather dye or a repair cream tinted to your sofa. Test on the back first.
- Seal. A leather sealant locks the color and adds protection.
- Condition. After 24 hours, apply a leather conditioner to keep it soft.
Total cost of a decent kit: $25 to $50. Total time: one evening. Compare that to a professional leather sofa repair, which runs $200 to $600 depending on the damage.
Faux Leather Sofas Are a Different Beast
Here’s where most guides lie to you. A faux leather sofa repair is not the same as real leather. PU and vinyl don’t absorb conditioners, so the whole “moisturize your leather” routine does nothing except sit on the surface.
For a faux leather sofa, you’re dealing with a plastic coating on a fabric backing. Once that coating cracks or peels, it doesn’t “heal” — it has to be filled, colored and sealed with products designed for vinyl, not leather. Using leather cream on a faux leather sofa is a waste of money.
The one thing that does work long-term on faux leather is prevention: keep it out of direct sun and wipe it with a damp cloth weekly. UV is what kills vinyl sofas, not wear.
Natuzzi and High-End Sofas: Don’t Wing It
If you own a Natuzzi, a Stressless or anything with a brand finish, my honest take is you should not be doing this yourself. Not because you’re incapable, but because those finishes use proprietary dyes and topcoats. A mismatched color on a $5,000 sofa is worse than the original damage.
Find a specialist who works with your brand, ask for references, and get a written quote. A good one will also tell you if the sofa is beyond saving, which saves you from throwing $400 at a lost cause.
The Maintenance That Prevents All of This
Ninety percent of the leather sofa repairs I’ve read about wouldn’t be necessary with basic care. Leather is skin. It dries, it cracks, it fades. Deal with it.
- Condition every 3 to 6 months with a pH-neutral leather cream.
- Keep the sofa out of direct sunlight. UV fades dye faster than anything.
- Wipe spills immediately. Leather is porous, and coffee sets in minutes.
- Trim your cat’s claws. Seriously. Cat scratches on a leather sofa are the #1 DIY repair request.
- Don’t sit on the same cushion every single day. Rotate.
If you do those five things, you’ll probably never need a leather repair kit at all. If you don’t, well, now you know how to fix it for fifty bucks instead of replacing the whole thing.