
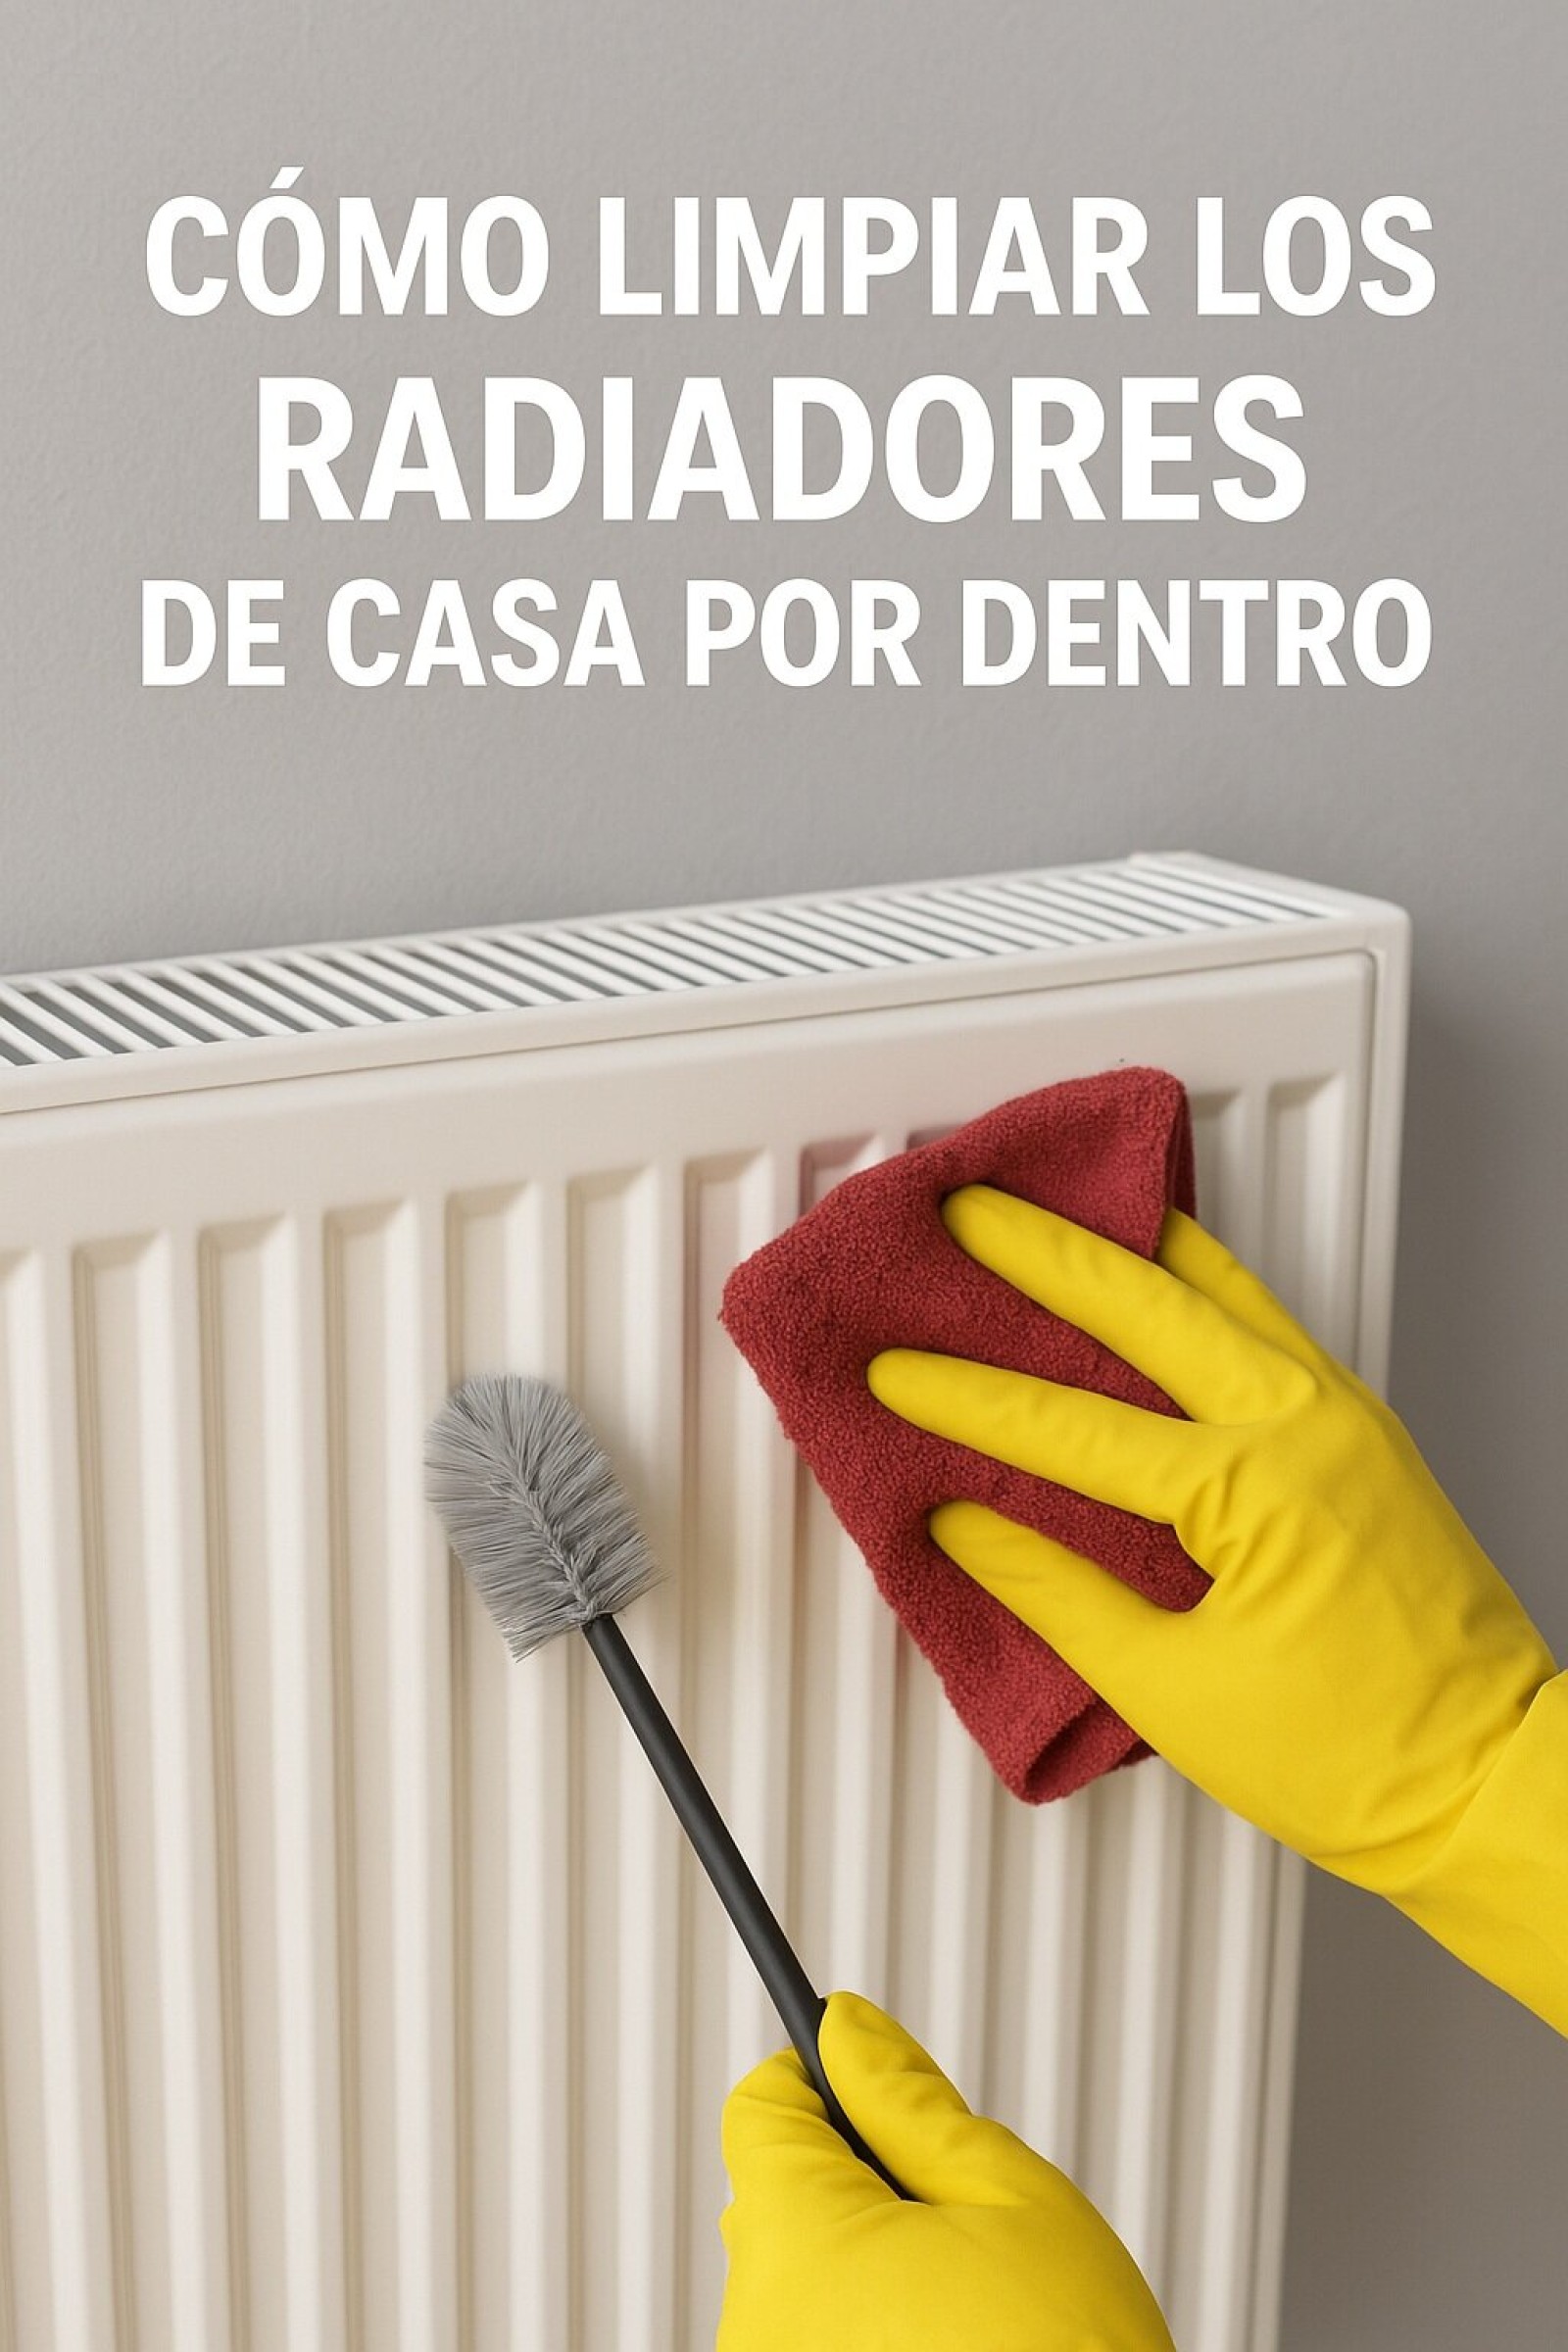
The cleaning of radiators is one of those home maintenance tasks that are often overlooked. While vacuuming the exterior dust is common, few consider the need for cleaning the radiators of the house from the inside. Over time, the circuit interior can accumulate sludge, rust, and sediments that drastically reduce their efficiency, increase energy consumption, and shorten their lifespan. This article is not written by an expert, but rather compiles truthful information and widely documented procedures from DIY forums, manufacturer manuals, and channels specializing in plumbing, with the sole purpose of informing.
Performing an internal cleaning of the radiator is not an extremely complex job, but it does require a certain meticulousness, some basic tools, and, above all, following the appropriate safety steps. It is not a simple surface cleaning, but rather a bleeding and rinsing that restores the system to its optimal heat transfer capacity. Below, the process is broken down clearly and safely.
Preparations for internal radiator cleaning
Before embarking on any maintenance task, preparation is key. You cannot simply start disassembling elements without prior planning. The first thing is to understand that this process involves handling the heating system, which entails working with water under pressure and, potentially, hot water. Therefore, personal safety and protecting the home are the top priority.
It is essential to completely turn off the boiler and the heating system. It is not enough to set the thermostat to zero; you must disconnect the electrical supply to the boiler to prevent it from accidentally turning on during the process. The next step is to wait for the radiators to cool completely. Handling a hot radiator not only poses a risk of burns, but hot water under pressure can be dangerous.
Gathering the necessary tools and materials will prevent interruptions. You will need a bleed key (or a flathead screwdriver, depending on the model of the bleed valve), a glass or a small container for the bleed water, towels or old rags, and a hose to connect to the filling system or for drainage. For the internal cleaning of the heating circuit, it is also advisable to have on hand a specific cleaning product for circuits, which can be purchased at hardware stores or DIY shops.
Initial radiator bleeding to remove air
The first practical step, and one that many already know, is bleeding. Although the final goal is sludge cleaning, starting by removing air is crucial because it directly affects performance. A radiator with air inside will not heat evenly (you will notice that the top part is cold while the bottom is hot) and will make annoying noises. This initial bleeding is the necessary preamble for deep cleaning.
Place the container under the bleed valve, which is usually at the top side of the radiator, at one of its ends. With the bleed key or screwdriver, turn the valve very slowly counterclockwise. You will hear a hissing sound: it is the air escaping. Keep the valve open until air stops coming out and a steady stream of water begins to flow. At that moment, close it quickly.
It is normal for a little water to come out, which is why it is important to have the container ready. Once a radiator has been bled, it is advisable to check the boiler pressure. Bleeding can cause the system pressure to drop. If the pressure is below that indicated by the manufacturer (generally between 1 and 1.5 bars), you will need to top it up using the boiler’s filling valve. This cycle of bleeding and restoring pressure is the basis for keeping the system efficient.
How to perform a chemical flush for radiator cleaning
When conventional bleeding is not enough to recover performance, the problem is likely the accumulation of sediments at the bottom of the radiator. For this, a more advanced procedure is required: the chemical flush for radiator cleaning. This process uses a special cleaning product that dissolves sludge, rust, and scale without damaging the metals of the circuit.
The procedure involves adding the chemical product to the heating system. This is normally done through a radiator that has valves on both connections (inlet and return), which allows it to be isolated from the rest of the circuit. After closing both valves, one of the radiator caps is unscrewed (not the bleed one) and the cleaner is poured inside, along with hot water. Then, the radiator is closed again, its valves are opened, and the heating is turned on so that the product circulates throughout the system for the time indicated by the manufacturer, normally between one and two hours.
It is vitally important to follow the instructions of the chemical product you choose to the letter. Some are more aggressive than others and require precise contact times. After the circulation time, the product must be evacuated from the system by means of a complete drainage. This chemical flush is probably the most effective part of the entire cleaning of the radiators of the house from the inside, as it attacks the root of the problem.
Manual cleaning of the radiator from the inside
In extreme cases, where the radiator is very clogged, or if a purely mechanical method is preferred, you can opt for manual cleaning of the radiator from the inside. This method is the most laborious and requires physically removing the radiator from the wall. It is the most direct way to ensure that not a single trace of dirt remains inside.
To begin, make sure the system is cold and disconnected. Close the inlet and return valves of the radiator. Place rags on the floor to absorb possible spills. With a suitable wrench, disconnect the radiator unions from the valves. You will have to be careful because, despite having closed the valves, it is likely that water remains trapped inside the radiator. Once taken down, take it to a place where you can work comfortably, such as a garden or a garage.
Cleaning is done with the help of a pressurized water hose. Insert the hose through one of the radiator connections and rinse repeatedly until the water comes out completely clean on the other side. You can turn and shake the radiator to help dislodge the most stuck sediments. This method is very satisfying because you see firsthand the dirt that comes out and the improvement in water flow. Once clean, it is reinstalled in its place.
Subsequent maintenance and dirt prevention
Once the cleaning is complete, whether chemical or manual, the work does not end there. The subsequent maintenance and dirt prevention is essential to prolong the effects of the cleaning and avoid having to repeat the process frequently. After a chemical flush, it is imperative to perform a final rinse with clean water to remove any residue of the cleaning product, which could be corrosive in the long term.
An excellent proactive step is to add a corrosion inhibitor to the circuit once it is clean. This product, which is also poured into the system, creates a protective layer on the internal metal walls, preventing the formation of rust and sludge. This, combined with regular bleeding at the start of each heating season, will keep the system in optimal condition for years.
The frequency with which a cleaning of the radiators of the house from the inside should be performed depends on the type of installation and the water in the area. In general, an inspection and deep cleaning is recommended every 5 to 8 years. However, if you notice that the radiators do not heat well despite being bled, or that the boiler turns on and off frequently (cycles), it is a clear sign that internal cleaning is necessary.
Frequently Asked Questions (FAQ)
Frequently Asked Questions (FAQ)
Is it necessary to clean the radiators in your home from the inside?
Yes, it is necessary periodically. Although it is not a yearly task, over time the accumulation of sludge and rust in the internal circuit reduces energy efficiency, increases heating costs, and can cause boiler breakdowns. An internal cleaning restores flow and heat transfer.
What does a chemical flush for radiator cleaning involve?
A chemical flush involves adding a specialized cleaning product to the heating circuit. This product circulates through the system for a set period of time, dissolving and loosening deposits of sludge, rust, and limescale. Afterwards, the dirty liquid is drained and replaced with clean water, leaving the system free of blockages.
Can I do a manual cleaning of the radiator from the inside myself?
Yes, it is possible if you have basic DIY knowledge and the right tools. It involves removing the radiator, taking it to an outdoor area, and rinsing it with a pressure hose. However, it is physically demanding work and carries the risk of causing leaks if the connections are not tightened correctly when reinstalling it. If you do not feel confident, it is better to hire a professional.
What benefits do I get from proper follow-up maintenance and dirt prevention?
Follow-up maintenance, which includes the use of a corrosion inhibitor, protects the investment in the cleaning. It prevents the formation of new deposits, ensures that the radiators work at their maximum capacity for longer, reduces energy consumption, and minimizes the risk of costly breakdowns in the boiler and other system components.